
Pages and editor
Writing in the editor
Every page in Tylode is a document made of blocks: paragraphs, headings, lists, tables, images, and Tylode blocks such as databases, boards and polls. This page covers how to create a page and write in it quickly, from the slash menu to keyboard shortcuts and uploads.
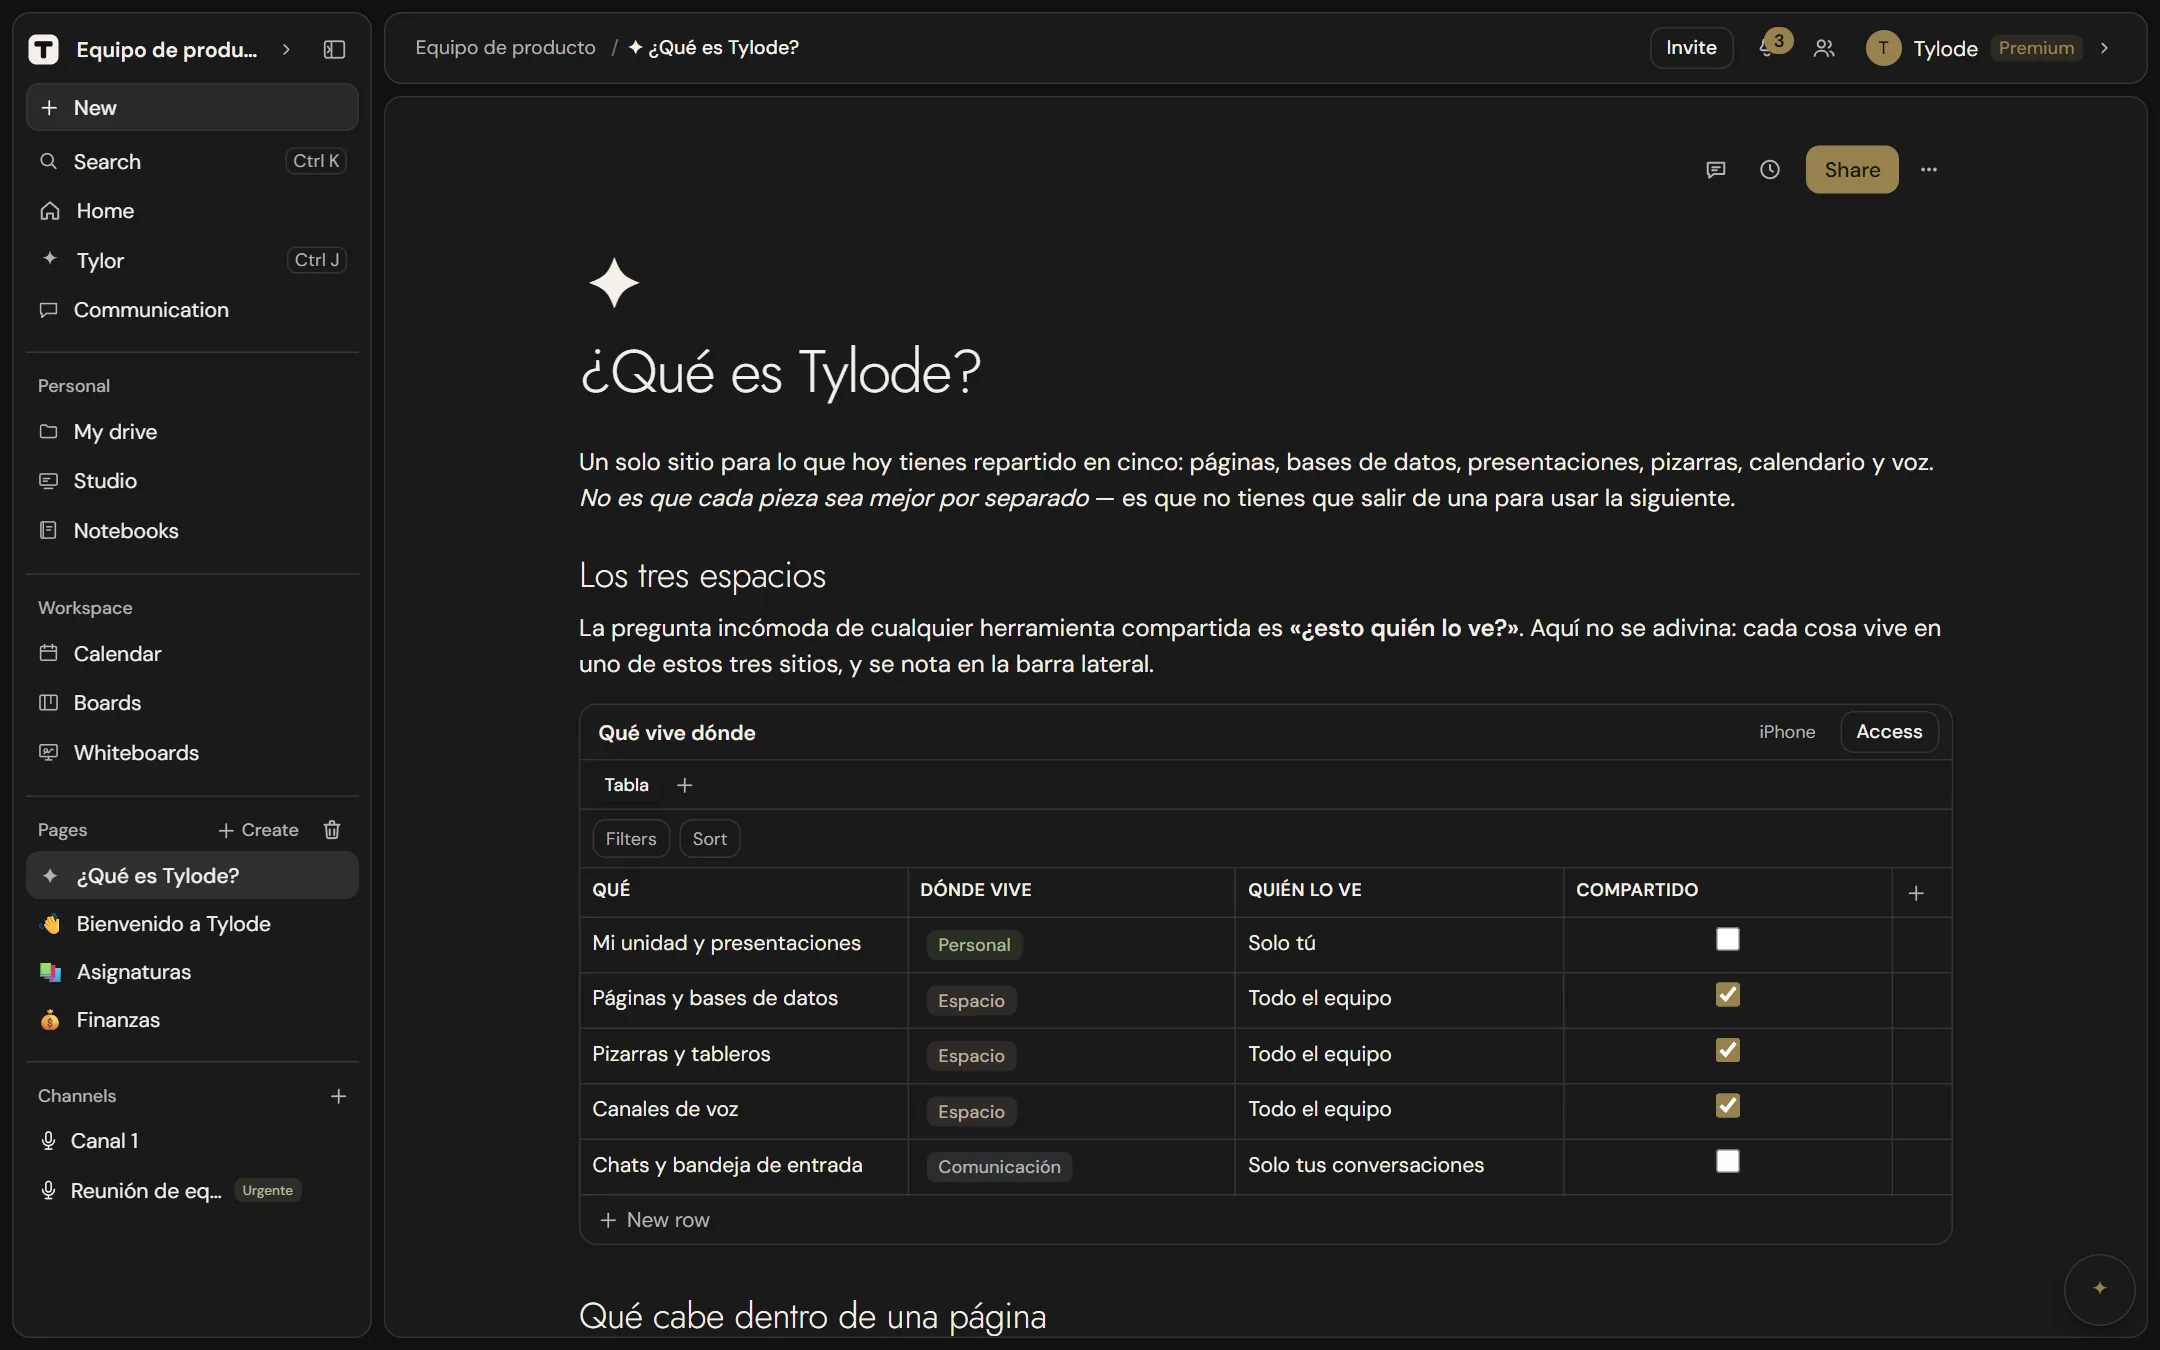
Create a page
There are three ways to create a page:
- From the sidebar: in the Pages section, click + (New page). A new top-level page opens.
- As a subpage: hover over a page in the sidebar, click ⋯ and choose New subpage. The new page is nested under that one.
- From Home: click the Tylode logo to go to Home, then click + Page under the greeting.
New pages are called Untitled until you give them a title. Pages are unlimited on every plan. To start from ready-made content instead, use a template. To learn how pages nest and how to reorder them, see Organizing pages.
Title and autosave
Click the large Untitled line at the top of the page and type a title. The sidebar updates as you type.
There's no save button. Tylode saves your changes automatically a moment after you stop typing. The indicator at the top left of the page shows Saving… while changes are being stored and Saved once they're safe.
While the page loads you may briefly see Connecting collaborative editor…. That's the editor connecting so you can see other people's changes live (see Real-time collaboration and comments).
If you lose your connection
If you go offline while writing in a page (or drawing in a notebook), you can keep going: what you write is saved on your device and You're offline appears at the bottom. The indicator at the top changes to Saved on this device.
When the connection comes back, Tylode uploads it automatically and you'll see All saved. If you close the page or the app before that, nothing is lost: it uploads the next time you open Tylode on that same device. Until then, anyone opening the page elsewhere won't see those changes. That's why, in the browser, Tylode warns you if you close the tab with something not yet uploaded.
If, when you're back, the server doesn't accept something you did offline (because you no longer have permission or someone deleted it in the meantime), you'll see A change made offline couldn't be uploaded at the bottom. Click View to see what it was and why: you can copy it so it isn't lost and discard it once you no longer need it.
Open Tylode offline
In the desktop app and in the browser (on a tablet too), Tylode saves on your device what you open while you're online: each page as it looks, the databases in it, the list of pages in your workspaces and your calendar for the coming weeks.
With Pro and Premium, your favorite pages in the workspace and the most recently edited ones (those in Pick up where you left off on Home) are also downloaded in advance, with their databases, even if you never opened them on that device.
If you open Tylode offline, you'll see the Offline screen with all of that. Pages you never opened on that device are greyed out. When the connection is back, click Back to Tylode to carry on where you were.
Pages you can edit open in the editor and you can keep writing in them: under the title you'll see Saved on this device. When you're back online, what you wrote uploads on its own and merges with whatever others changed in the meantime, without overwriting anything. Offline you can write the page's text and change the cells of its databases (text, number, checkbox, select, date, link and phone): changed cells are marked until they upload, and only that cell changes, so whatever someone else changed in other columns in the meantime stays. In its boards you can add cards and click one to change its title or description, move it to another list or delete it; saved boards also appear in that screen's Boards section. Adding rows or columns, images or files, changing the page title, and card dates, labels, people and colors need a connection. Pages you can only view are labelled Read only.
In that screen's Calendar you can create events with New event and click one to change or delete it: title, day, times and description. Anything changed offline is labelled Not uploaded until you're back online and it uploads on its own. If someone else changed other details of the same event in the meantime, theirs stay. Repeating events, inviting people and color need a connection.
When you sign out, what was saved for reading is removed from the device. It doesn't work in the iPhone and iPad app yet.
The page header
Above the title there's a slim header. On the left it shows the save status and, if the page is a template, a Template badge. On the right, in this order:
| Button | What it does |
|---|---|
| Comment icon (Comments) | Opens the comments panel. A counter on the icon shows how many blocks have open comments. See Comments on blocks. |
| Clock icon (History) | Opens Version history. See Version history. |
| Share | Chooses who can see the page. It's the only highlighted button, and once the page is shared it reads Shared with and the number of people and teams. See Sharing and page permissions. |
| ⋯ (More options) | Export .md, Export PDF and Save as template (or Remove from templates if the page already is one). See Exporting pages and Templates. |
Hover over an icon to see its name.
Type and insert blocks
Click anywhere in the page and start typing. Press Enter to start a new block. Each paragraph, heading, list item or image is a separate block that you can move, color or delete.
The slash menu
Type / at the start of a block (or after a space) to open the slash menu. Keep typing to filter it, use ↑ ↓ to choose and Enter to insert.
The search matches names and aliases, so /db, /kanban, /toc or /youtube also work. The menu lists the standard blocks (headings, lists, table, image…) and Tylode's own blocks: Embed, Database, Calendar, Board, Whiteboard, Poll, Voice channel and Index. See the block reference for what each one does.
The "+" insert panel
With a mouse, hover over a block and click the small + that appears to its left to add a block below it, or type /.
On touch screens (phones and tablets), where you can't hover, a round + button (Insert element) floats at the bottom right of the page. Tap it to open a side panel with everything you can insert, grouped by type, with a Search what to insert… box at the top. Tap an item to insert it where your cursor is.
Markdown shortcuts
If you know Markdown, you can type these at the start of a line and the block converts as you type:
| Type | You get |
|---|---|
# + space | Heading 1 (## for Heading 2, up to ###### for Heading 6) |
-, * or + + space | Bullet list |
1. + space | Numbered list |
[ ] + space | Check list (unchecked) |
[x] + space | Check list (checked) |
> + space | Quote |
``` + space | Code block |
--- | Divider |
Inline formatting also works as you type:
| Type | You get |
|---|---|
**text** | Bold |
*text* or _text_ | Italic |
~~text~~ | |
`text` | Inline code |
Format text
Select some text and a formatting toolbar appears above it. From left to right you can:
- Change the block type (paragraph, heading, list…).
- Apply Bold, Italic, Underline and Strike.
- Align the text: Align text left, Align text center or Align text right.
- Change Colors: pick a Text color or a Background color (Gray, Brown, Red, Orange, Yellow, Green, Blue, Purple or Pink; Auto resets it).
- Nest block and Unnest block.
- Create link.
Add a link
Select the text, click Create link in the toolbar, paste the address and press Enter. To link to another Tylode page, copy that page's address from your browser and paste it the same way.
Nest blocks
Press Tab at the start of a block to nest it under the block above (for example, a sub-item in a list), and Shift+Tab to move it back out. The Nest block and Unnest block buttons in the toolbar do the same.
Keyboard shortcuts
On Windows and Linux use Ctrl; on Mac use Cmd instead, and Option where the table says Alt (for example, Cmd+B on Mac).
| Action | Shortcut |
|---|---|
| Bold | Ctrl+B |
| Italic | Ctrl+I |
| Underline | Ctrl+U |
| Strikethrough | Ctrl+Shift+S |
| Inline code | Ctrl+E |
| Heading 1–6 | Ctrl+Alt+1 … 6 |
| Paragraph | Ctrl+Alt+0 |
| Quote | Ctrl+Alt+Q |
| Toggle list | Ctrl+Shift+6 |
| Numbered list | Ctrl+Shift+7 |
| Bullet list | Ctrl+Shift+8 |
| Check list | Ctrl+Shift+9 |
| Nest / unnest block | Tab / Shift+Tab |
| Move block up / down | Ctrl+Shift+↑ / ↓ |
| New line inside the same block | Shift+Enter |
| Undo | Ctrl+Z |
| Redo | Ctrl+Y or Ctrl+Shift+Z |
Ctrl+K opens the workspace search from anywhere, including the editor, so add links with the toolbar button. For shortcuts across the whole app, see Keyboard shortcuts.
Insert emoji
Type : followed by at least two letters (for example :smi) to open the emoji picker, then pick one with the arrow keys and Enter or with the mouse. You can also choose Emoji in the slash menu.
Undo and redo
Use Ctrl+Z to undo and Ctrl+Y to redo. Undo only reverts your own changes, not those of people editing the page at the same time. To go back further, or to recover content someone else removed, use Version history.
Upload images and files
Insert an Image, Video, Audio or File block from the slash menu or the insert panel. The block offers two tabs:
- Upload: choose a file from your computer.
- Embed: paste the address of a file that's already online.
You can also drag a file onto the page or paste an image from the clipboard. Once a file is in place, select it to add a caption, replace, rename, download or delete it from the toolbar.
Size limit and allowed types
Each file you upload in the editor can be up to 10 MB, on every plan. If it's bigger, you'll see a message saying the file exceeds the limit. For larger files, use My drive.
| Allowed | Formats |
|---|---|
| Images | PNG, JPEG, GIF, WebP, AVIF, HEIC/HEIF, BMP, TIFF |
| Audio | MP3, M4A/AAC, WAV, OGG, WebM, FLAC |
| Video | MP4, WebM, MOV, OGG |
| Documents | PDF, plain text, CSV, Markdown, JSON, RTF, Word, Excel, PowerPoint, OpenDocument (text, spreadsheet, presentation), EPUB |
| Archives | ZIP, 7z, RAR, GZ, TAR |
For security, other types are blocked, including SVG, HTML, JavaScript and executable files. If you try one, you'll see a message saying that file type can't be uploaded for security reasons.
When the editor is read-only
If a workspace is frozen (for example, because your plan no longer covers it), you'll see a ❄️ banner and pages open read-only: you can read and export them, but you can't type, and the + insert button is hidden. Upgrading or freeing up a workspace slot unfreezes it. See Workspaces and Plan limits.
Separately, members with the Read-only role can view pages, comment and vote in polls, but they don't create or edit content. See Members and roles.